Here are a couple of things that could cause this:
Make sure your computer resolution is set properly (Windows)
This is done directly in Windows. Follow the steps below to check to see if this is set properly:
- Connect a keyboard and mouse to the computer you are using for the digital signage player.
- Hit “q” on the keyboard to exit out of the SmarterSign Player software.
- Right click anywhere on the desktop and click on “Screen Resolution”. This will show you the current screen resolution for that Windows is set to. Make sure this matches the recommended resolution for your display.
- Keep a note of the resolution so we can make sure this matches what is set in the SmarterSign application.
- Exit this setting and double click on “SmarterSign Player” on your desktop. This may have corrected your problem. If it didn’t, let’s move on to the next step.
- Check the “Display Settings” in your Windows Control Panel. Make sure the setting is set to 100%.
Make sure your “Display Settings” are correct
This is done in the SmarterSign application. Follow the steps below to make sure your settings are correct:
- Click on the HOME tab in the application
- Select the Player on the left hand side under the category “MY NETWORK”
- Your Player(s) will appear in the middle of the screen
- Click on the “Player Settings” button to make sure the player is configured properly.
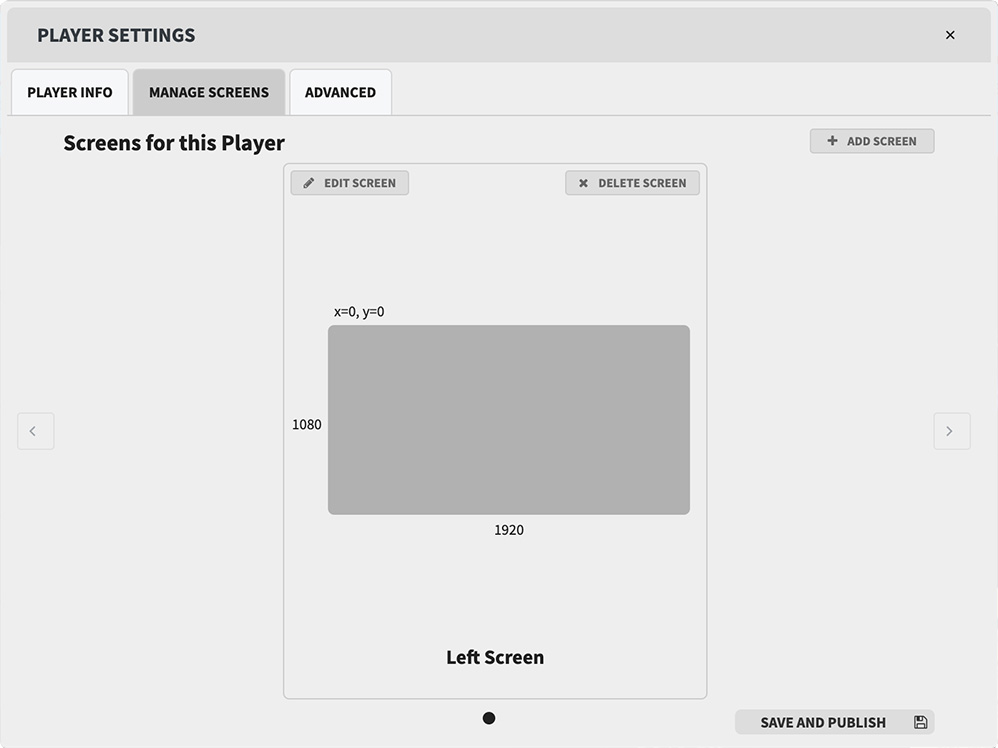
- Click on the tab called “Manage Screens”
- Make sure that the resolution set for the screens matches the screen resolution of the display. You can edit these settings if they do not match. The two settings for each screen are the height & width and the x and y location.


